I LOVE LOVE LOVE www.craftster.org and my most awesomest friend Kelli recently posted a message on my Mommies Club site to a tutorial on how to make little girls dresses from old button-up shirts. I thought "PERFECT!" I've got 2 of those (little girls) and TONS of old button-ups. Fun stuff! I thought I'd post my progress so far...
First, here is the link to the tutorial on crafster
OK, so I forgot to take a picture before I started cutting, so I layed the front of the shirt back on it and took a picture so you all can see what the shirt looked like beforehand. It's a womens medium long-sleeved button up from Buckle. I've probably worn it a handful of times and not at all in the past 4 years, so I sacrificed it ;D
I'll take pictures when I'm done and add it to this post, but here's what I started with: (And say hi to Sassy's foot. Goofball. :D )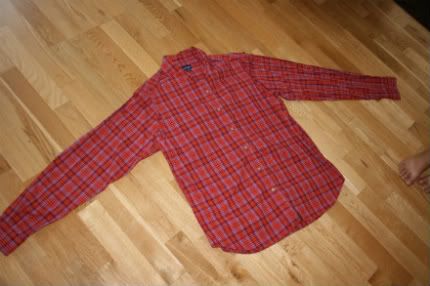
After I got all the pieces cut out:
I have an idea for how I want to do the top of the dress though, so I'm going to change up the tutorial ladies a bit. I'll post what I did when I'm done :D More to follow......
Update: 1:15am *Ok, so it's a little after 1am. Here's what I was able to get done after the kids got to bed....I just have the trim left to add and fitting the collar around Stinkbug and we'll see how it works. I ended up using the collar from the shirt and using that instead of 2 shoulder straps. Not sure how this is going to work once I get it on Stinkbug as there won't be anything to hold up the back of the dress, but we'll see. I thought it looked cute when I put it on her before I sewed it all up. ANYWAY, I'm rambling. Here are the pictures....
Front: (See the pocket I added to it over on the side of the skirt? I used the one I took off the front of the shirt. I'll be adding the same trim to that as I do the rest of the dress so it stands out a bit more)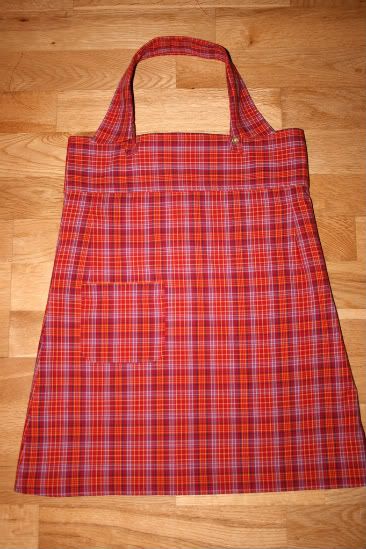
Back: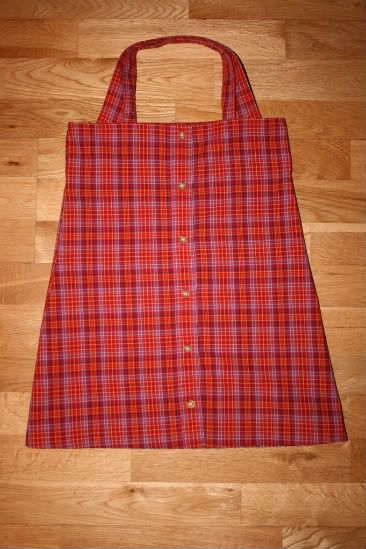
And the next one I've already cut out for a dress for Sassy:(Sorry for the blur, I wasn't paying attention and it's the only one I took of it)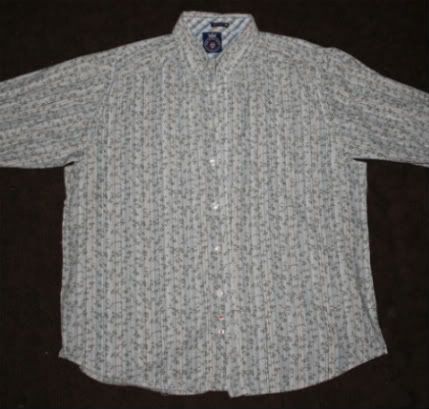
Close-up of the print: (I love this shirt! I'm glad it doesn't fit Rodeoman anymore ;D )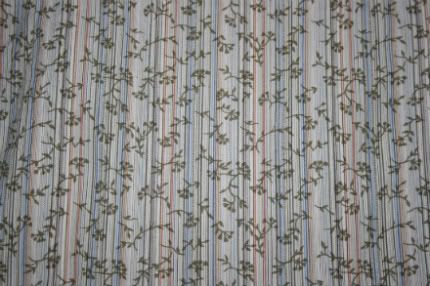
OK, so I have to get material for the trim tomorrow or more like later today Hahaha. That's the life of a mom that sews. Up all night working on projects, and sleepwalking during the day trying to take care of the home and family.
I'll update again when I'm all done and with action shots of the girls in them. :) These are SO easy and SUPER FUN to make. I feel a serious addiction comin' on ;D
Why I created this blog...
"You will have significant experiences. I hope that you will write them down and keep a record of them, that you will read them from time to time and refresh your memory of those meaningful and significant things. Some may be funny. Some may be significant only to you. Some of them may be sacred and quietly beautiful. Some may build one upon another until they represent a lifetime of special experiences. "
~Gordon B. Hinckley
~Gordon B. Hinckley
Monday, August 4, 2008
My first "Button-Up Shirt Dress"
Posted by Cari @ MamaOlogy at 7:28 AM
Labels: button up shirt dress, craft projects, crafting, sewing
Subscribe to:
Post Comments (Atom)





2 comments. Please click here to leave one!!!:
Hehe Most awesomest friend huh? Love you too. And I love the dress! I can't wait to start mine.....although I'm slightly afraid seeing how my first bag went. *L* At least you did it first so I have a go to for questions.
And what here to speak that?
Post a Comment